How to turn static images into moving video with AI
Still images capture a single moment, but a short video can bring that moment to life. For content creators, marketers, and hobbyists alike, the ability to turn a static photograph into a moving clip opens up new ways to tell stories and engage audiences. This is where image-to-video generation comes in, a process that uses artificial intelligence to infer motion, depth, and timing from a single frame.
The technology behind this has advanced quickly. Early attempts at animating photos often produced jittery or unnatural results, with objects warping or flickering between frames. Today's video generation models handle the task more gracefully, producing smooth transitions and preserving the identity of people and objects across the shot. The result is a short video that looks and feels like it could have been captured by a camera, not generated by software.
What happens inside an image-to-video model
To understand how a picture to video AI works, it helps to look at the core steps the model follows. First, the model analyzes the input image to identify key elements: foreground subjects, background, textures, and edges. It then predicts how those elements would move if the scene were alive. A person's hair might sway, water might ripple, clouds might drift. This prediction is based on patterns learned from millions of real video clips during training.
The model then generates a sequence of frames that show this motion unfolding over time. A technique called frame interpolation can be used to fill in the gaps between the initial static image and the final moving scene, ensuring that each frame flows naturally into the next. Temporal consistency is critical here: the subject's face should not change shape or color from one frame to the next, and the background should remain stable unless it is supposed to move.

Some models also add cinematic audio to match the mood of the scene, though this is a separate step. The audio is often generated from a description or chosen from a library of soundtracks that fit the visual content. Together, the visual motion and sound create a short clip that feels complete and immersive.
What makes motion look realistic
Realistic motion is the main goal, and it is also the hardest part to get right. The model must understand physics: objects that are heavy move differently than light ones, water flows in a particular way, and people have a natural gait. When the model gets this wrong, the video looks uncanny or comical. When it gets it right, the viewer may not even realize the video started from a still image.
A good picture to video ai will pay attention to boundaries. For example, if a person is standing in front of a tree, the model must keep the person's outline crisp while the leaves behind them sway. Blurring or bleeding between the subject and the background ruins the illusion. Similarly, if the original photo has a shallow depth of field, the model should preserve that blur in the generated frames rather than sharpening everything uniformly.
Another factor is motion amplitude. Small, subtle movements often look more natural than large, dramatic ones. A gentle breeze affecting a curtain is more convincing than having the curtain flap wildly. The best models allow the user to control the strength of the motion, giving them the choice between a barely-there shift and a more animated result.
Practical uses for generated video
Short video creation from still images has found a home in several fields. Social media content creators use it to turn travel photos into short clips that grab attention in a feed. E-commerce sites animate product images so shoppers can see how a garment moves or how a device's screen lights up. Real estate listings benefit from turning static room shots into walkthrough-style videos that give a sense of space.
Artists and designers also experiment with the technology to create looping animations from their own photographs or illustrations. The ability to add motion to a single image without learning complex video editing software is appealing. The trade-off is control: the AI decides how things move, and while the results can be stunning, they are not always predictable. Users should expect to try several inputs or adjust settings before getting a clip that matches their vision.
What to look for in a tool
When evaluating a picture to video ai tool, consider a few key features. First, look at the output resolution and length. Most tools produce clips of a few seconds, which is enough for social media or thumb-stopping ads. Longer videos require more computation and may introduce inconsistencies. Second, check whether the tool preserves faces well. If you plan to animate portraits, the model should keep facial features stable across frames. Third, see if the tool offers any control over motion direction or intensity. Some tools let you paint areas of motion or set a starting point for movement, which can improve results.
Another consideration is speed. Cloud-based tools can process a video in a minute or two, but they require an internet connection and may have file size limits. Local tools give more privacy and control but need a powerful graphics card. The choice depends on your workflow and how often you generate videos.
Limitations to keep in mind
No image-to-video model is perfect. The generated clip will only be as good as the input image. Low-resolution or blurry photos produce poor results. Images with complex overlapping objects, such as a hand in front of a face, can confuse the model and lead to artifacts. Also, the model has no understanding of the scene beyond its visual appearance. It does not know that a glass of water should not tip over by itself, or that a person's eyes should blink at a natural rate. Some of these issues can be mitigated by choosing a model that has been trained on a diverse dataset, but the user should always review the output before publishing.
Audio generation adds another layer of complexity. While cinematic audio can enhance a video, mismatched soundtracks can feel jarring. If the tool generates audio automatically, it is wise to have the option to replace it with your own track or to turn it off entirely.
Getting started with your first video
If you want to try this technology, start with a clear, well-lit photo that has a single main subject. Avoid images with heavy filters or text overlays, as the model may try to animate those too. Upload the image to the tool, choose a motion style if available, and generate the clip. Watch the result several times to check for flickering or warping. If the motion looks good, you have your video. If not, try a different image or adjust the motion strength.
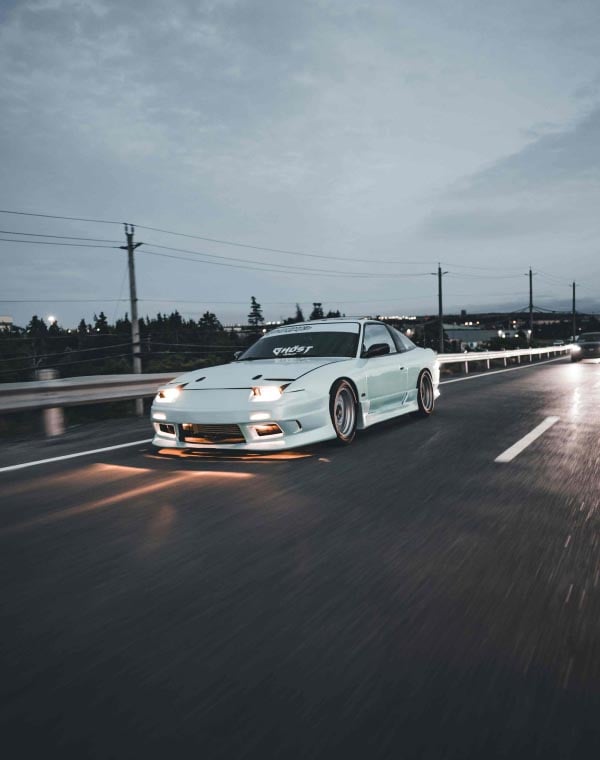
Over time, you will develop a sense of which types of images work best. Landscapes with flowing water or moving foliage tend to produce satisfying results. Portraits with subtle head turns or hair movement can also work well, though they require a model that handles faces carefully. Experimentation is part of the process.
The field of image-to-video generation is still young, but it is moving fast. Models improve every few months, producing sharper frames, better consistency, and more natural motion. For anyone who works with visual content, this is a tool worth watching. It turns the static past into something that feels present, and it does so with a simplicity that belies the complex mathematics running behind the scenes.